I love love love mini, bite-sized treats! Which is why I was so elated to find out this month's DB challenge are bite-sized cheesecake treats! There's just something about diminutive, individually-portioned bites that is appealing to me. I think part of the reason is portion control so I won't overeat, but I can promise you that's a hard feat because these cheesecake treats are so very yummy! And the challenge comes in good time too as I have been hankering for creamy, rich cheesecake lately.
The lovely Deborah and Elle were the kind hostesses this month and chose the recipe from a cookbook that simply the most scrumptious title ever: Sticky, Chewy, Messy, Gooey. Seriously, how can you not love it?
The recipe itself was very simple and straightforward. However, I had a slight problem with the cheesecake not setting beautifully. All I did to solve the issue was to freeze the cheesecake balls with the popsicle sticks for about half an hour. I just had a pretty decadent weekend and wanted something lighter. My daring adjustments include using Neufchatel cheese that supposedly has 1/3 less fat than normal cream cheese, and coating the cheese balls with sugar and bruleeing them instead of super rich chocolate.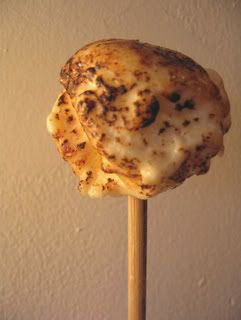
The cheesecake balls didn't freeze completely but was solid enough to withstand a super hot torch. Unfortunately, they weren't as perfectly spherical as I wanted them to be and the not-so-perfect-ly-spherical shape was more detectable without a nice chocolate coat. Overall, the cheese pops were delish and just the right-sized "light" treat I wanted. Like the book its recipe came out of, these sure were sticky, chewy, messy and gooey, just the kind of dessert I like *winks*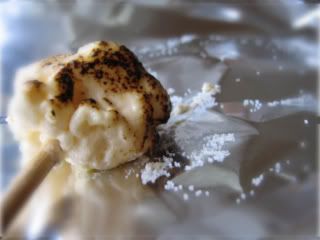
If you want to salivate over more of these cheesecake balls, check out my friends' creations here and be prepared to be blown away!
Sunday, April 27, 2008
My April DB challenge- Cheesecake Brulee Bites
Rants of
marias23
at
5:11 PM
18
comments
![]()
Labels: baking, Daring Bakers, party food, vegetarian
Sunday, March 30, 2008
Spring has sprung!
Once upon a March, a teeny weeny bunny faced a Daring Bakers challenge. It was the daring Morven's turn to host and she wisely picked a sprightly recipe for us: the Perfect Party Cake by the one and only Dorie Greenspan. Having only salivated at Dorie's books, the bunny was uber excited about the cake, only to despair having no special occasion to bake for.
Though the bunny's birthday is in March, she was away in a foreign land with her beloved sister for the occasion. Fortunately, the Easter holiday came to the rescue! Even though the funny bunny didn't celebrate the holy day, she had plenty of friends who did. The bunny quite liked cake allright, but being pint-sized, the bunny liked all things small and cute. She then decided that instead of baking a large, beautiful cake, she will bake cupcakes because there's really nothing more adorably delicious than cuppy cakes.
But how should the bunny ensure that she follows the challenge rules, for one of the rules is that it has to be a layer cake! Think and think, the bunny did, before she thought, "Eureka! Layer cupcakes!" And layer cupcakes, the bunny made.
She started with the batter, which was easy breezy and a beautiful daffodil yellow, very apt for a springy occasion such as Easter.
To make layer cupcakes, the daring bunny baked the layers separately; she baked half of them in cupcake baking cups and the other half sans paper in the cupcake pan, with only a tablespoon of batter in each.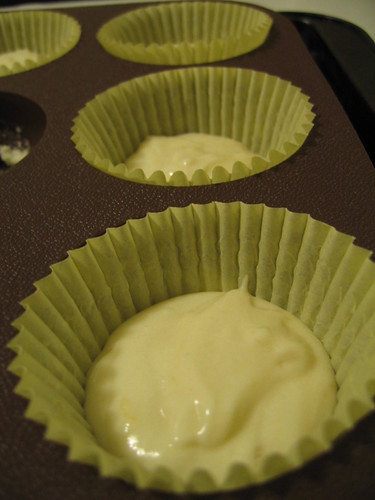

The mini cupcakes (as if cupcakes weren't mini enough!) rose slightly and were a pretty yellow.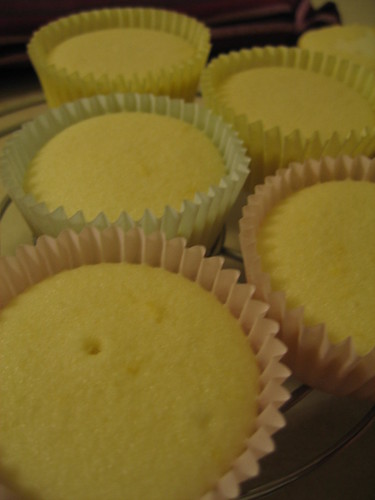
To start the assembly process, the funny bunny laid out the cupcake in a baking cup, which will be the bottom layer.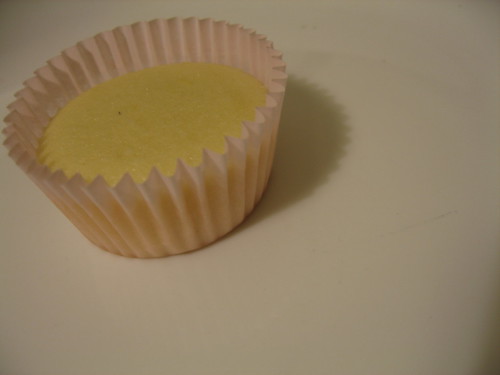
She then spooned a teaspoonful of luscious strawberry jam and smoothed it over the top...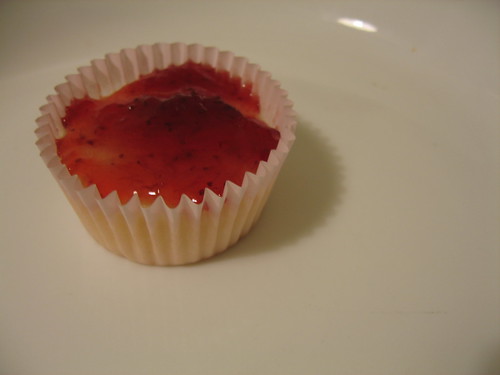
... before she plopped the paperless cupcake (the top layer) on the jam-frosted cupcake!
And as if this isn't sufficient fabulosity, the bunny decided to be funny and slathered the top with Dorie's decadent vanilla buttercream, only to top it off with a sprinkling of fluffy flaked coconut.
Nothing is more fun than decorating cupcakes, but the bunny couldn't wait to tuck into this darling lemony cake! She split it in half, only to show off that the cupcake crumb is delectable and its layers simply exquisite (if she must say to herself!).
In no time did the greedy bunny polished off the pretty cupcake, leaving only mysterious yellow crumbs and flakes and pink paper on the plate.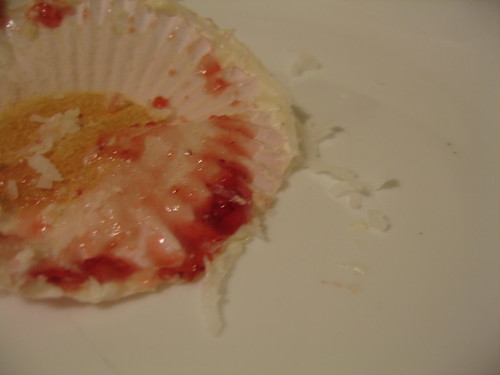
Fortunately, the funny bunny managed to hide a bunch more cuppy cakes away from her tummy, so that her friends who celebrate Easter actually had a chance to enjoy them too! Really, she's rather impressed she had this much self-control considering how yummy the cakes were!
Now check out more daring creations of other talented bunnies and chickies that are popping all over the internet here. Please be kind to your computer; prepare some napkins for your mouth in case my friends' pictures are excessively mouth-watering!
Rants of
marias23
at
11:02 AM
26
comments
![]()
Labels: baking, Daring Bakers, party food, vegetarian
Thursday, March 6, 2008
Devilled egg: simple party food with staple ingredients
A friend graciously invited a bunch of us for the Project Runway finale viewing at her place. Our Molecular Nutrition graduate program is famous (or is it notorious?) for loving our food. I mean, seriously, Nutrition program equals food, right? :)
Well, anyway, it was a potluck and I decided to bring something salty instead of my usual forays into the land of desserts. This is not my first time making these devilled eggs. I first made these for another friend's wine party earlier this year. Devilled eggs are no-fuss to make and are so delicious and nutritious; they belong in every party tray. Here's how I made mine...
Start with some nice-looking eggs.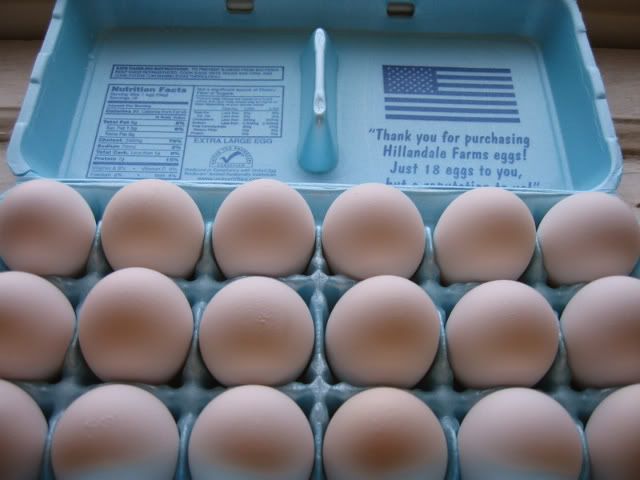
Place the eggs in a pot and cover with room temperature water.
Next, bring water to a roiling boil and let the eggs boil for 5 minutes. Then, put the pot lid on and leave for 10 minutes.
Pour hot water out of pan and to make it cool faster, add tap water into the pot and leave for 5 minutes.
Next, peel the eggs. This is probably the most time-consuming part of the recipe, but I figured out a simple way to do it. Tap the egg on a hard surface lightly until it is cracked all over (and I mean ALL OVER). Now, start peeling from a spot. I was able to peel the egg easily, by pulling out the membrane layer underneath the shell. For one egg, I peeled off the shell in one piece ;)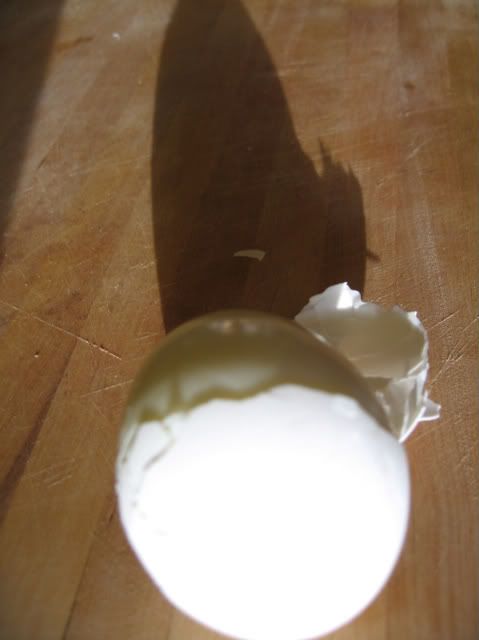
Cut each egg lengthwise.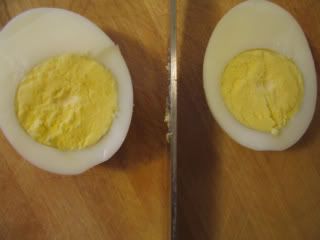
Scoop out the yolk into a medium-sized bowl and place the "hollowed" egg white shell on a platter with "hollowed" face up.
Once you've cut and scooped out all the eggs, mash the yolks. Add salt, pepper, paprika and Dijon mustard to your taste. You can add some mayo if you'd like it to be smoother. If you're piping out the mashed yolk mixture, it's recommended that you add the mayo for easier piping.
Scoop about a teaspoon of mashed yolk mixture on the hollowed egg white. If you want to be fancy schmancy, you can pipe the yolk mixture on.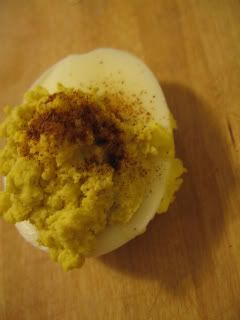
At the end, garnish with a dash of paprika, sprig of dill or a sliver of chive. For a more substantial bite, you can top each with a teeny weeny slice of smoked salmon.
Now, isn't that a fierce?
Rants of
marias23
at
7:04 PM
0
comments
![]()
Labels: brunch, general, party food, recipe

